We took a trip to Italy recently and I brought along my Ricoh XR-7 and ten rolls of film. During the trip, I ended up shooting eight and a half rolls (three color, five black and white). At home, I had three rolls of color film I was holding off on developing until after the trip so my developing chemicals didn’t go bad. I didn’t want to risk ruining any of the Italy rolls. When I got back, I had a lot of developing to do. Nearly everything was successful.
I think right before my trip, I upgraded my OS and in the process ended up starting with a fresh install of everything and all of the presets I had been using to scan and invert negatives over the years were lost. Honestly, it was for the best. I had fumbled my way through inverting those negatives without learning how to do it properly or what all of the controls meant. I inverted things “good enough” and saved a bunch of presets that were only “good enough”.
So I sat down and spent the time to learn how to properly profile a filmstock and create a descent preset to get me close with all subsequent rolls. This post is to document the process for future me.
Scanning
- Load the film trays (wear gloves if you remember)
- Use the blower to remove as much dust from both sides
- Scan and save a frame from the scanner without film in it
- Scan an image that has some of the film base exposed
- Scan the full available frame, save the raw file
- Filename format: YYYYMMDD – Camera – Filmstock – ####.tif
- Store all each roll in a folder with a consistent name format
- Folder name format: ## – Contents of the roll
Negative Inversion (Darktable)
- Open the frame without film
- Find the White balance module
- Use the eyedropper to select the area of the frame that is white. This is the whitebalance for your scanner
- Use the White balance menu to “Store a new preset”, save it as your scanner name
- Open the image with some of the film base exposed
- Open the Negadoctor module
- Use the eyedropper for the “Film Properties -> Color of the film base” and select the clear film base
- Do the same for “Film Properties -> Scan exposure bias”, “Corrections -> Shadows color cast”, and “Print properties -> Paper black (density correction)”
- Use the eyedropper for the “Film properties -> D max” and select the area of the image that contains the image
- Do the same “Corrections -> Highlights white balance” and “Print properties -> Print exposure adjustment”
- Use the Negadoctor menu to “Store a new preset” and name it after the film stock
- Your negative should be inverted close enough with only final, artistic edits remaining
Apply Inversion to a Whole Roll
- Back in Lighttable, select the image you just inverted and then under “History stack” select “Selective copy…” and choose “White Balance” and “Negadoctor”
- Select all of the other images in the roll and the under “History stack” select “Paste”
- All edits will be applied to all files
I found it helps to still work through each image and use the eyedropper to re-select the “D max”, “Highlights white balance” and “Print exposure adjustment”. Sometimes there is an improvement and sometimes not.
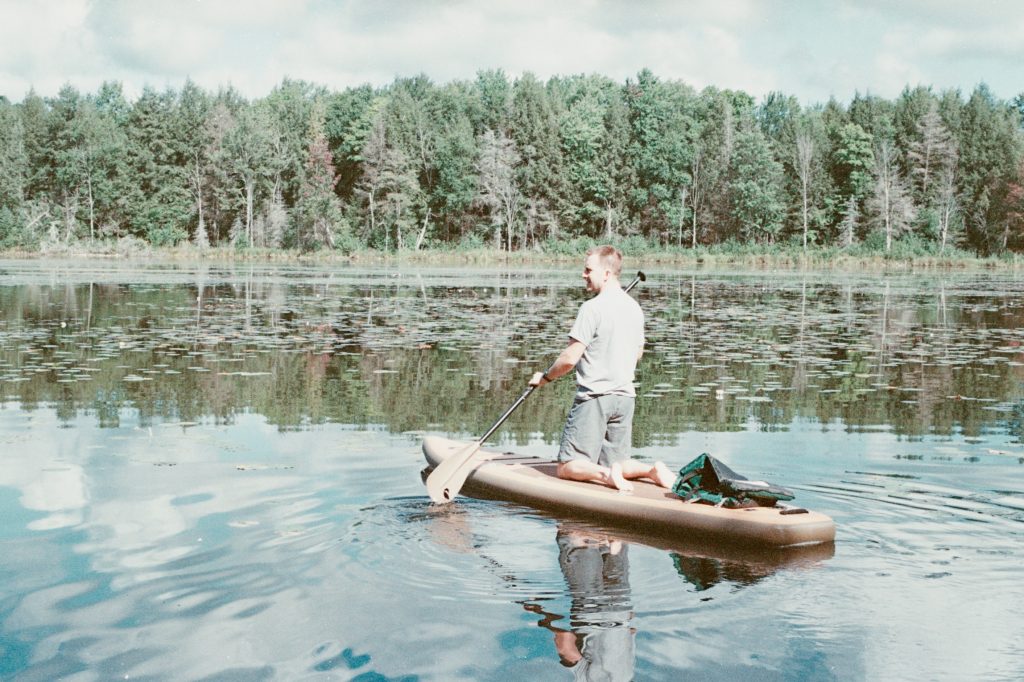
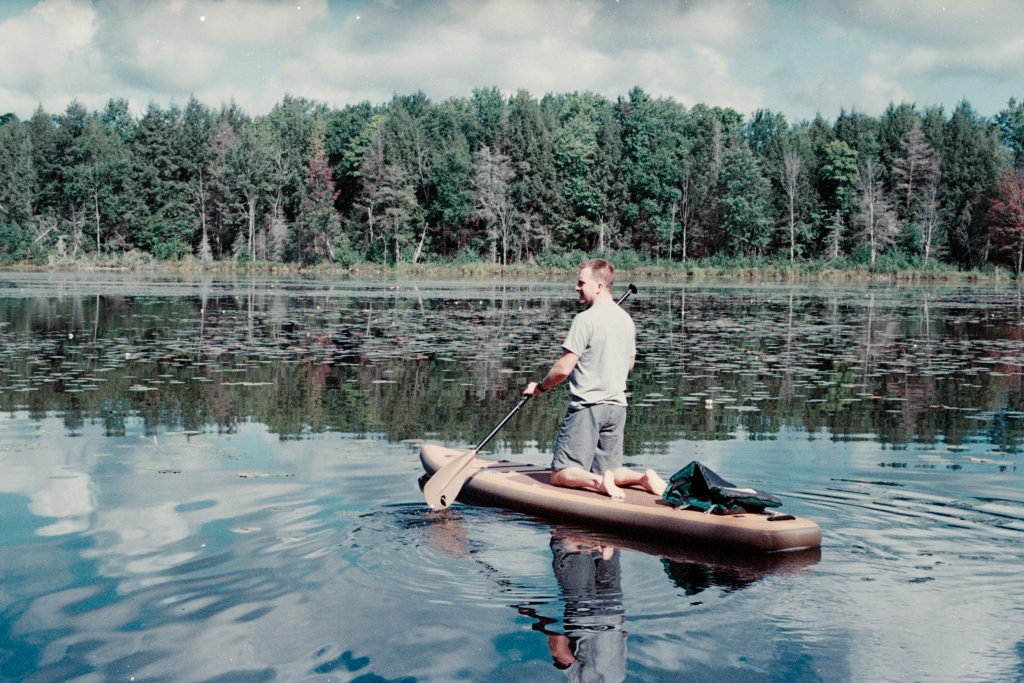
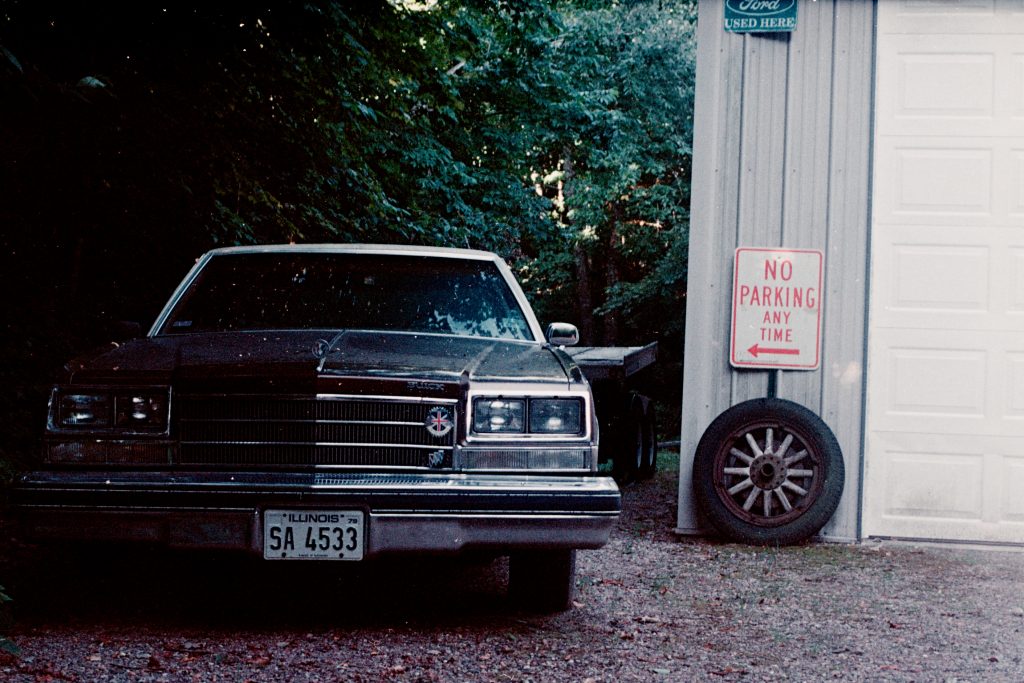
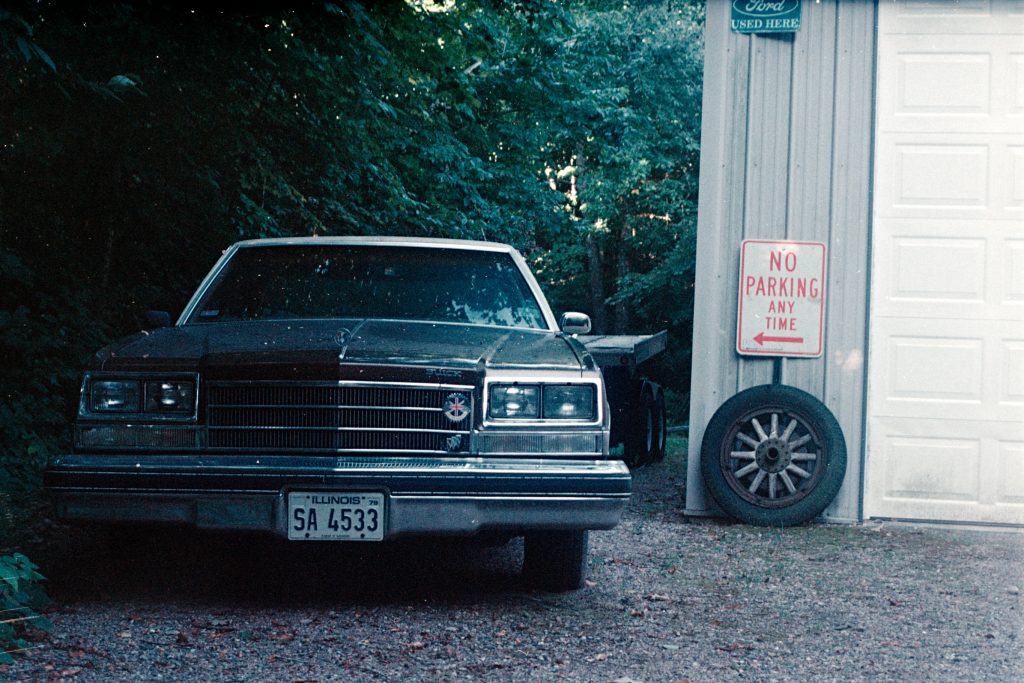
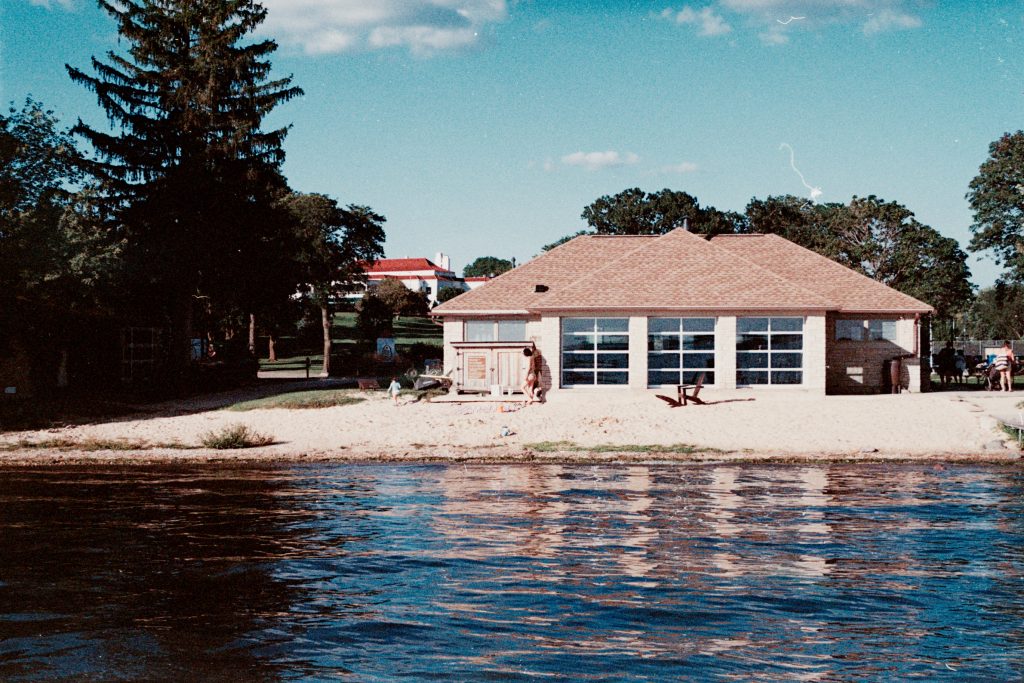
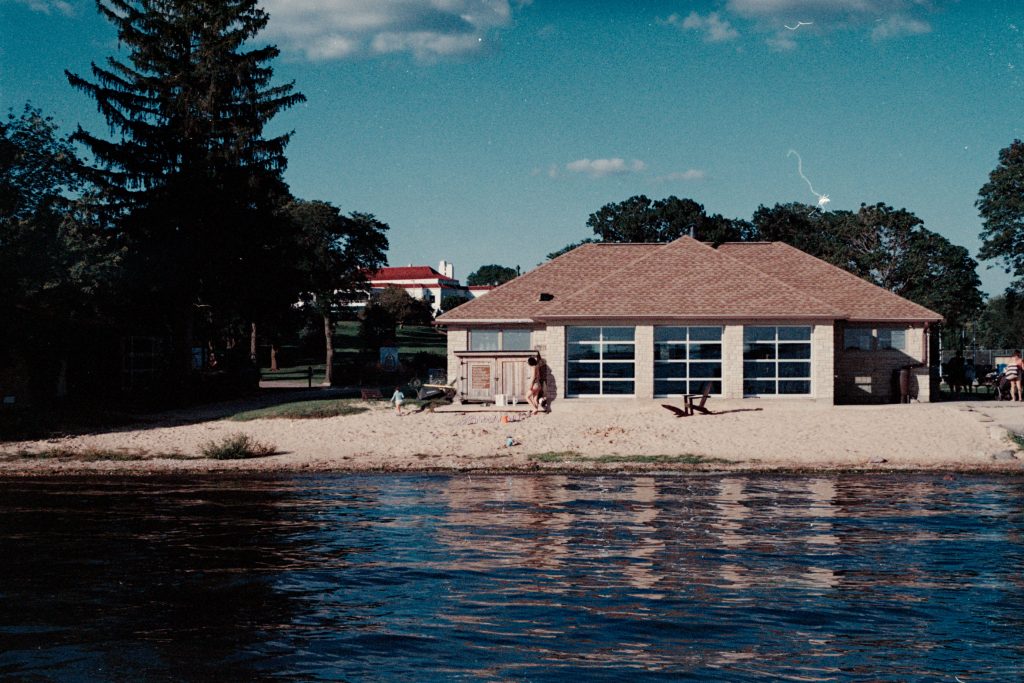
Here are some images that were inverted manually compared to the ones where I followed the process above: